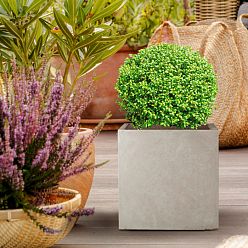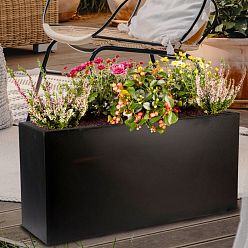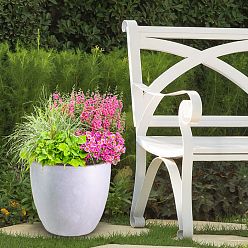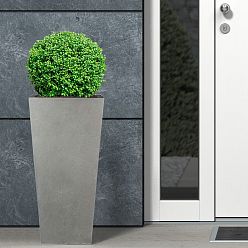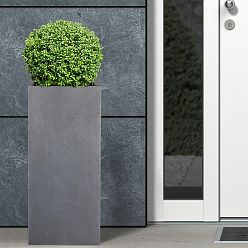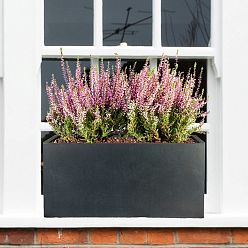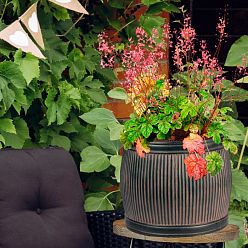
Many gardeners love to make flower pots with their own hands. Of course, you can buy it in the store, but homemade flower pots are fun and creative. You may choose any materials from cement to wood. Use your imagination and simple materials to create a real masterpiece. The modern market offers a large range of the most stunning flowerpots for every purpose. There are indoor and outdoor types, for seedlings, window sill, and window box planters. You can mix sizes to create all sorts of flower arrangements. There are extra large sizes for ornamental trees and commercial space decoration. There are also light hanging models. But if you decide to make a flower pot with your own hands, then the most popular material is cement or concrete.
What do you need for working with cement?
Cement is a fairly affordable material that will be strong and durable. To work, you need simple tools that you can find at home. Ideas for the form may be different. Create classic models from cardboard boxes or plastic containers.
Gather all the things to start creating a cement flower pot:
- Bag with cement.
- Protective gloves (preferably tight ones).
- Paraffin for lubrication of the walls.
- 2 shapes (one bigger, one smaller).
- Putty knife.
- Heavy item to carry.
- Bucket to mix cement (or bowl).
If you are planning to make a small flower planter then use a simple bowl for mixing cement. If your pot is large, then it is better to take a bucket. You can buy cement at any hardware store. Forms can be found even at home (cardboard boxes, jars, plastic containers, and so on).

Step-by-step guide to creating a cement flower pot
Work is better to start with the choice of form. Find suitable containers or containers. One of them must be smaller than the other. This is necessary in order to determine the walls of your future flower planter. Choose a different wall thickness, but it should not be less than 5 cm. If the thickness is less, then the pot will be fragile. An excellent choice for shape is buckets or old pots, stainless steel containers, glass jars.
Mix the cement so that it is ready to use. Place one container in another, after lubricating the walls with paraffin. Pour cement into the hole between the two containers. The inner mold must be stable in order for the cement to set properly. Use a weight to secure the inner container.
The cement hardens for about 3-4 days, so leave your mold in a dry, warm place. Once dry, remove your flower pot. You can leave it with natural color, it will look natural and stylish. But some people prefer to add interesting decors. These can be shells, pieces of colored glass, broken tiles, ribbons or lace. You can also paint your planter with bright colors.
A great idea is to make an incredible flower pot out of a rag. This form will look very creative. You need to take a dense fabric of any size. This will depend on the size of the future pot. Place the cloth in the cement mortar and then hang it on a bucket or pot. Choose the shape that you need to form the bottom of the future planter. Leave it hanging for a few days. The shape of the rag will be the shape of your future pot.
You don't have to decorate your cement flower planter. Most often, people prefer the standard style to look natural. This style will be ideally combined with the green color of your garden or garden sculptures. But if you decide to paint it, it's best to use oil paints and then apply a clear coat to set it. Create different sizes and shapes of flower pots because cement is a durable and reliable material. These planters will last for decades and are weather resistant. Your garden will become more cozy and beautiful if you make flower pots yourself.


