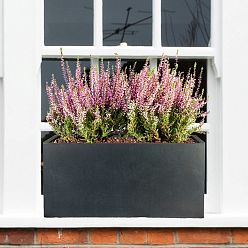
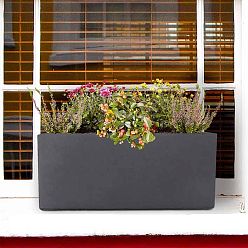
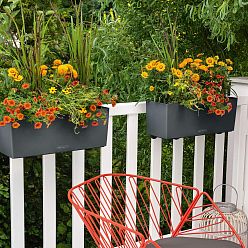
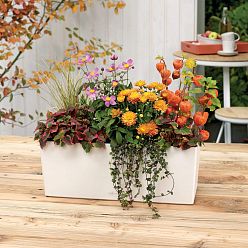
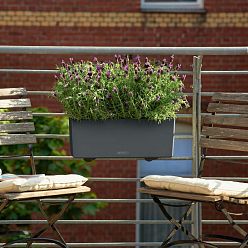
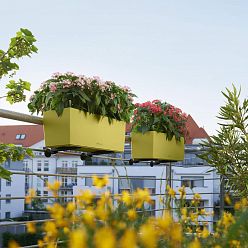
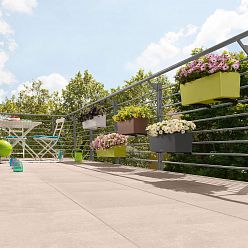
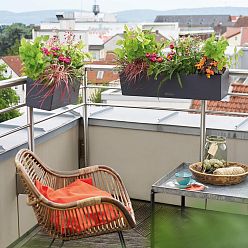
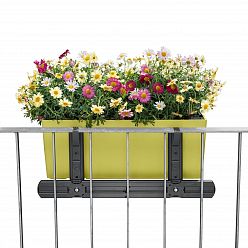
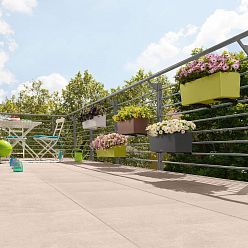
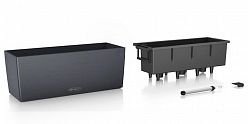
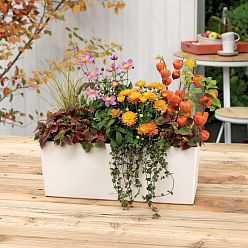
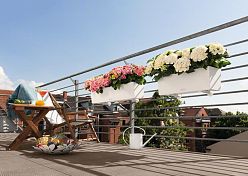
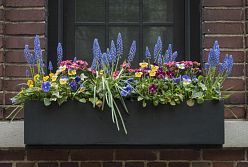
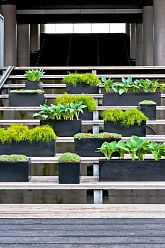
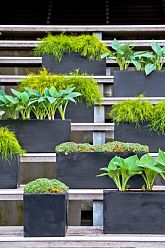
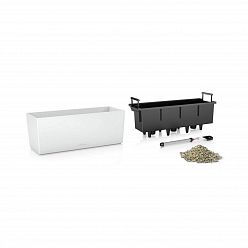
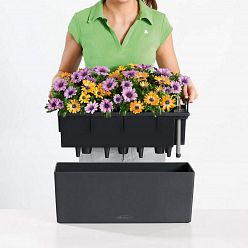
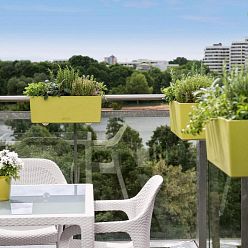
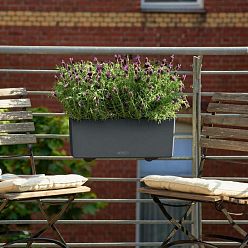
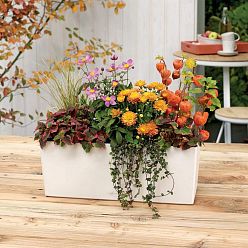
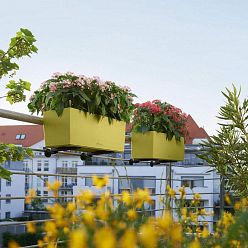
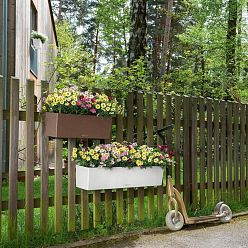
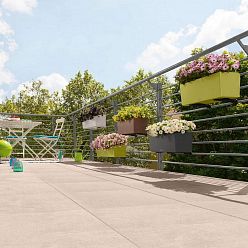
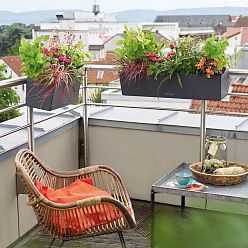
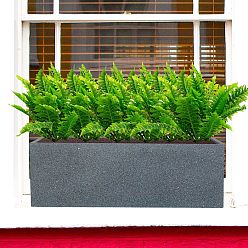
Many people dream of growing plants and flowers even if they don't have a balcony or garden. Your apartment may be small and you are looking for a way to find space for your green space. An excellent solution is a window sill. If you live in a warm climate then this is ideal. You can grow greens, seedlings, flowers and all kinds of plants. Of course, you can find these pots that have special mountings. But going to the store and buying a red pot plant can be too easy. Some people want to show their creativity and making a flower pot is not a problem for them. Collect the necessary tools and prepare the place for work. There are many step-by-step instructions so it won't be difficult for you.

Detailed instructions for creating a pot on a windowsill
If you are making a flowerpot for a windowsill then there is a simple instruction for a simple rectangular type. This option is the most practical because you can plant several plants in length. It is better to choose a medium width so that the structure is not heavy. It is better to choose a material of wood, but it can be thin metal sheets or plastic bases.
- Prepare the pieces that you will then collect in the box. Do not use too thick wood as this will add more weight to the box. Take measurements and cut the required segments.
- Now you need to think about which side of the box the fasteners will be. As long as the wood is just a piece, it will be easier for you to take measurements on your windowsill. Then you put together the box and the measurements for the bindings will be more difficult.
- Assemble all sides using metal brackets. You can make holes and use a drill to secure all sides with nails.
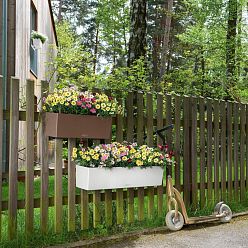
- Make sure you have fasteners on the windowsill to secure the box. Another way to do this is to use strong wire and make a nest. This will have some large hooks to hold the box.
- This box will stand outside and you need to protect it from the harmful effects of temperature, moisture and dampness. The best solution is to cover it with a special varnish. It is better to choose a transparent type, but you can also paint with paint. Wood will look good in white or black. Even if you used paint, you need to cover it with clear varnish. Sand the surface before coating.
- Now you need to prepare the fasteners or hooks. Hang this on a windowsill and secure. You can now place the box. No need to add soil to the box before hanging it on the fasteners. The dirt will give more weight and it will be more difficult for you to move it.
- Your box is now in the right place. There is soil there and all you have to do is add the plants. Plant it as usual but water it moderately.

More tips for creating windowsill pots
Of course, you will need special tools: a drill, screws, angle brackets, nails, and so on. You can cut the wood yourself using a saw or buy ready-made pieces. Many people buy windowsill pots in any garden shop. Not all models and materials are expensive. There are cheap plastic or ceramic options. Homemade wood types are better and more durable because plastic can burst in the cold. Ceramics can crack in the heat in direct sunlight. Stone and metal are very heavy, especially when you add soil. Wood is the best choice because this material is not afraid of temperature extremes and humidity.
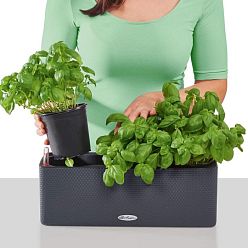
You can choose any medium sized plants to grow in these boxes. It can be herbs such as basil, parsley, garlic, dill, or green onions. You can also take flowers such as petunias, daisies, short irises, lilies and so on. Of course there are dwarf roses that can be picked in different colors. You can also grow seedlings and then transfer them to the garden of a country house. Some gardeners grow garlic or ginger.


