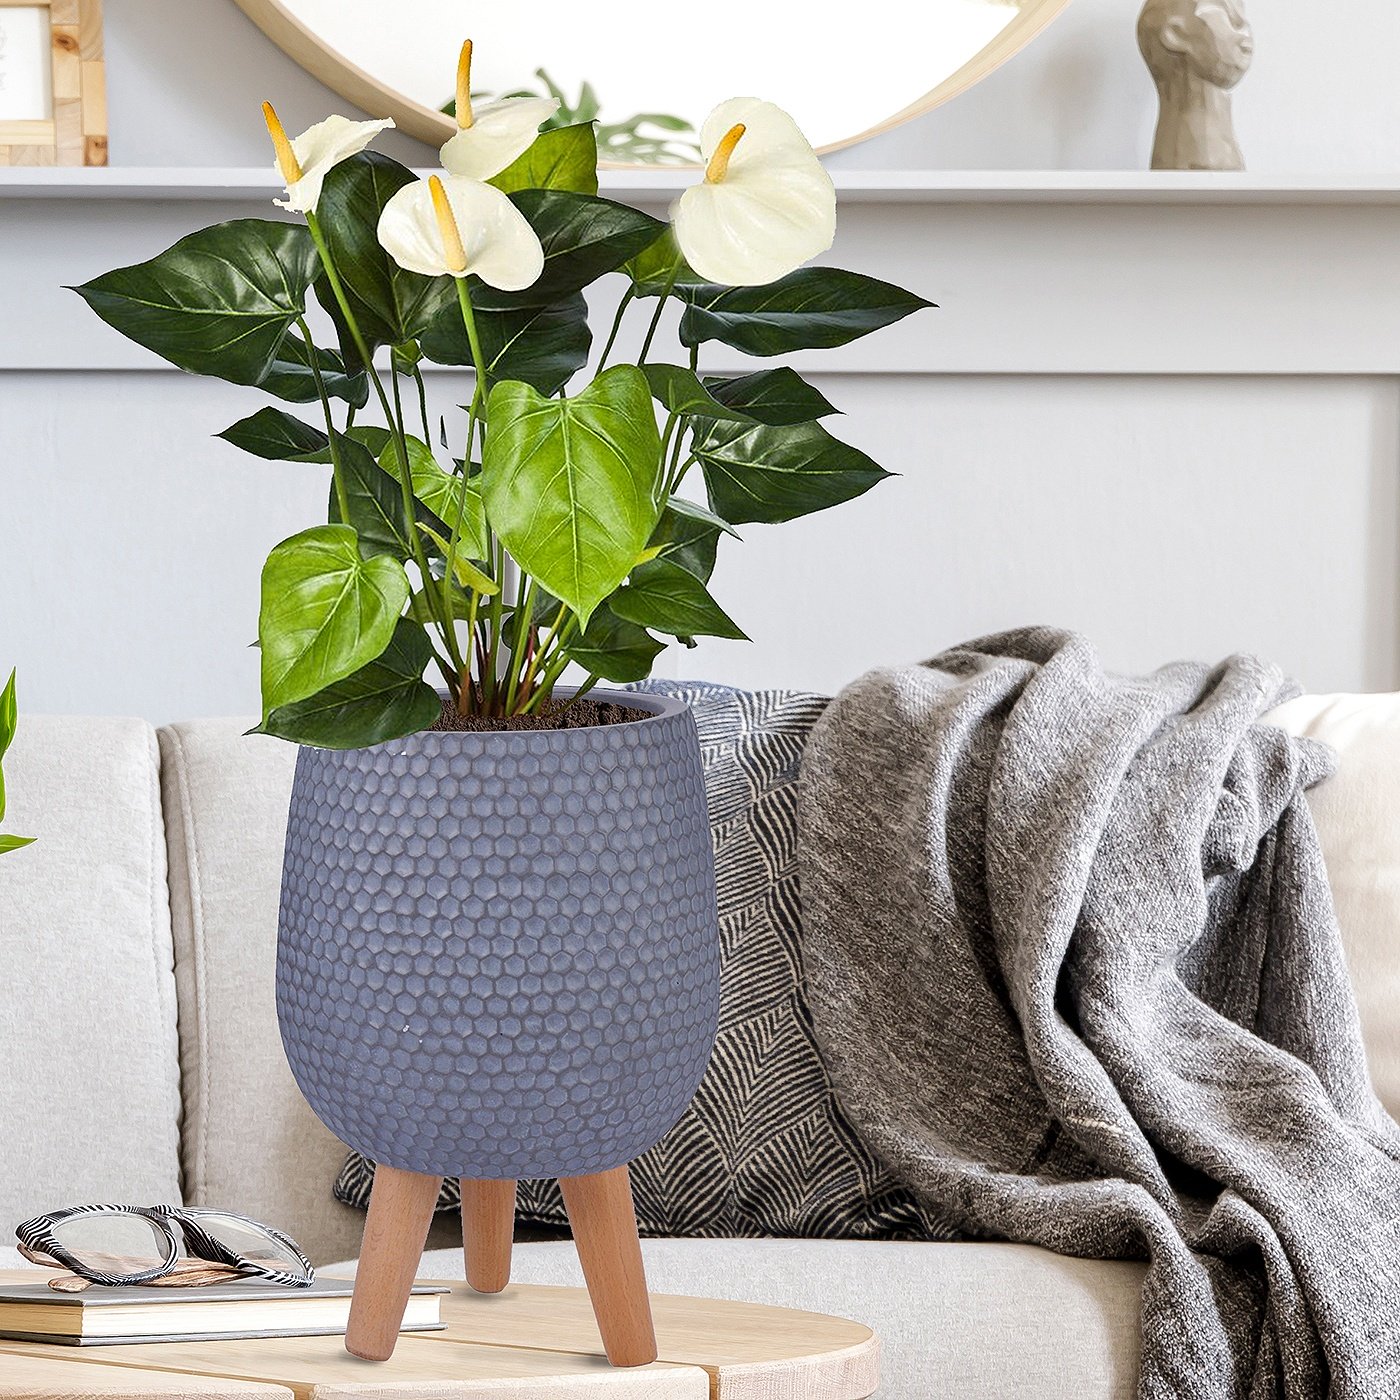
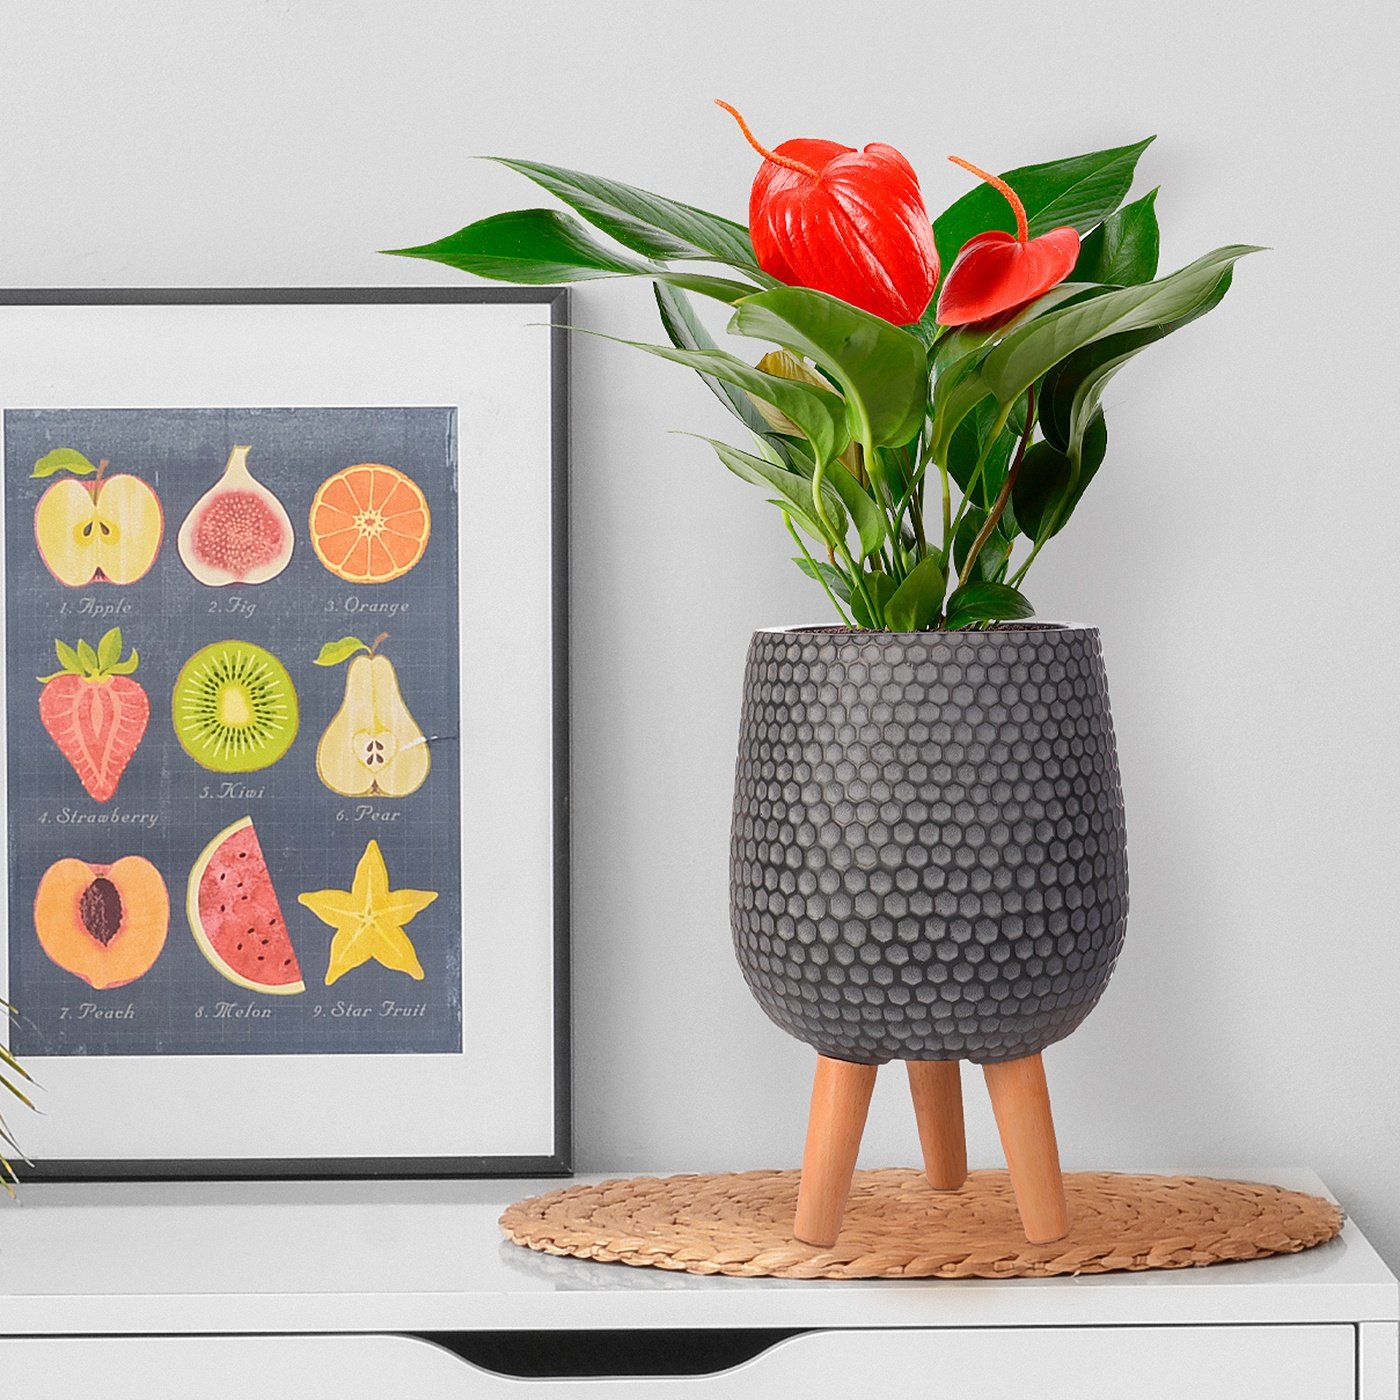
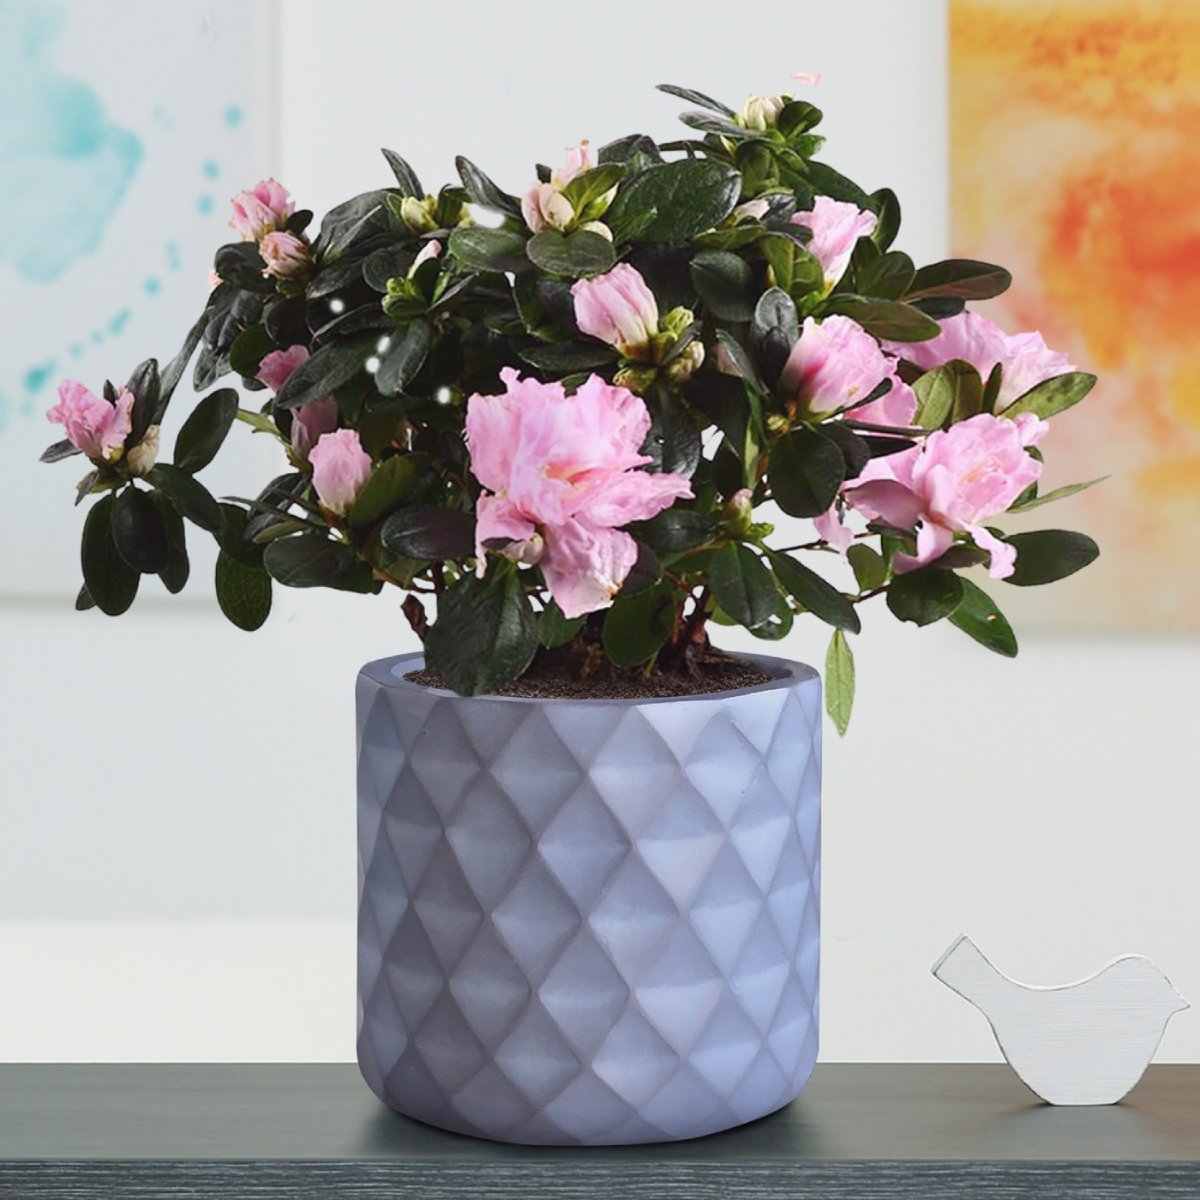
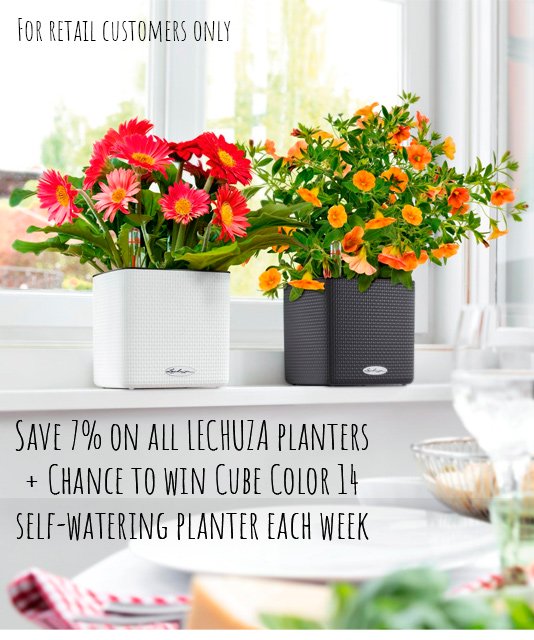
Flower pots decorate our homes as well as the plants inside them. We choose them based on interior design or personal taste. Many plastic planters are an inexpensive and convenient solution for indoor flowers or outdoor plants. There are different types of plastic, even more durable options for outdoor colors to be resistant to temperature changes. There are situations when we buy plastic flower pot but then change the design of the room and want every element in the house to match the new interior.
You will also want to freshen up your home and add new positive colors, so repainting plastic planters is the best solution. It is more convenient and easier than buying new pots and looking for a suitable design. Repainting can be done with inexpensive paints and simple glue so you don't have to spend a lot. The drawing can be varied fr om simple lines to creative faces or emoticons. Create unique styles to transform your home and make it cozier and more positive. Feel free to experiment with designs, add stones, fabrics, ribbons and other elements to create an authentic style.
Plastic plant painting process
If you've decided to upgrade your flower pots, there are many solutions wh ere paint and a brush will come in handy. Even if you don't know how to paint, you may have many interesting ideas for painting a flower planter. Browse the internet or create your own drawings. Now you need to prepare the necessary things:
- Find a comfortable place to start. If this is a table in the room, then cover it with a bag or paper to avoid paint on the coating.
- Prepare an empty planter so as not to harm the plant. Wash and dry with a towel or dry cloth.
- Now you need to put paints and brushes on the table. It is best to choose acrylic or spray paint. Also use PVC glue to prepare the surface of the pot for painting.
- Degrease the surface of the pot with a cotton swab and rubbing alcohol (or nail polish remover).
- Now you need to prepare the base so that the paints lay down clearly and evenly. Cover the pot with PVA glue and leave to dry.
- Now it's time to get creative - apply drawings using paints. This can be plain color or patterned drawings. Re-coat for solid colors.
- After painting, you need to fix the drawing with acrylic varnish. Also, do not forget to wait until it is completely dry.
- If you add additional decorations for the design, then you need to apply them to the paint before the acrylic glue. Stones and beads will hold more securely if you fix them with glue on top, also do with a cloth.
Features of painting plastic pots
Painting will not be difficult if you follow all the rules. Acrylic varnish is important if you are using plastic pots outdoors and do not want the paint to fade or crack. Also, you need to take into account other useful tips:
- The quality of painting with aerosol paints is much higher than painting with brushes.
- If the surface of the flowerpot is very smooth, then you need to make it a little rough with fine-grain sandpaper.
- Both the inner and outer surfaces of the pot are primed.
- Transplant flowers into a pot only after complete drying.
- There are special paints for painting on plastic.
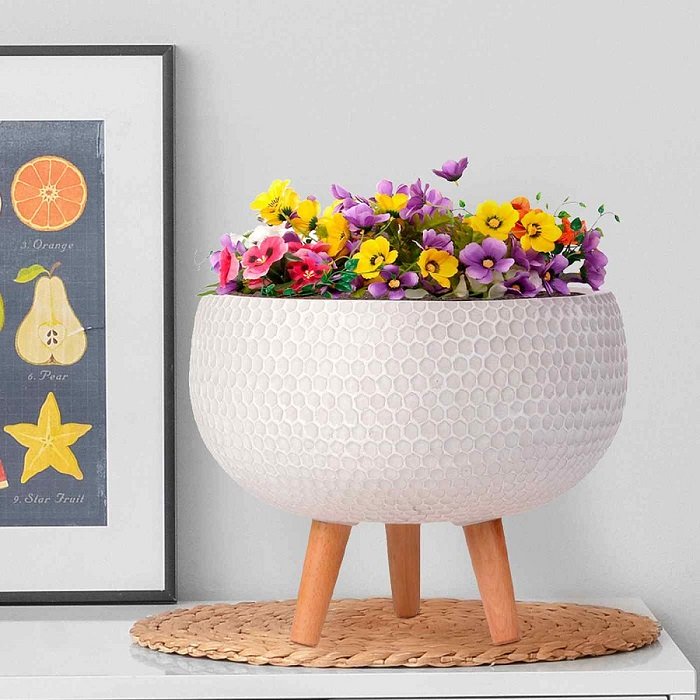
Any plastic planter can be refreshed and improved if you have the fancy. It might not be difficult if you have simple tools. Many creative people add other additions on top of the paint: beads, dusting, sparkles, beautiful stones, various applications. You can come up with other ideas, for example, using pieces of fabric. The fabric of different colors should be cut into strips and squares with scissors. Glue the top edge of the pot with squares, and then glue the strips one at a time. Cover the bottom edge of the planter with squares too.